Why Albuquerque Ceilings Get Hurt
This is a city of flat and low-slope roofs — from Pueblo-style homes in the North Valley to countless Heights ranches with tar-and-gravel or TPO up top. Flat roofs drain through canales and scuppers, and when one clogs with cottonwood leaves or Balloon Fiesta week hands you a surprise October storm, water ponds and finds its way down. Add July and August monsoon bursts that drop an inch of rain in an hour, and the classic ABQ ceiling stain is born: a tan-ringed blotch that spreads a little more each summer.
Then there's the swamp cooler. Thousands of local homes still cool with a roof-mounted evaporative unit, and every one of them is a plumbing fixture sitting above your drywall. Failed float valves, cracked pans, hard-water-crusted lines, and skipped winterizations all end the same way — a spreading stain around the cooler's drop point. Even homes that converted to refrigerated air often carry the scars: a hastily patched ceiling hole where the duct or cooler penetration used to be, visible every time the afternoon light hits it.
What Gets Repaired
Water-damaged drywall
Stained but sound drywall is dried, sealed with stain-blocking primer, and refinished. Soft, sagging, or moldy board is cut back to framing and replaced — there's no honest shortcut around saturated gypsum.
Cracks that keep returning
Ceiling-line and corner cracks from truss movement and our big day-night temperature swings get taped, floated with flexible compound, and refinished — not just caulked over for the fourth time.
Old patches and penetrations
Cooler swap-outs, relocated light boxes, plumbing access holes: old patches that never matched get recut square, backed properly, and blended into the surrounding texture until you can't find them.
Sagging seams and nail pops
Decades of attic heat cycling loosens fasteners and bellies seams. Refastening into framing, fresh tape, and a skim coat restore a flat, tight ceiling plane.
The Repair Sequence: Source, Structure, Surface
- Stop the water first. A stain repaired while the canale is still clogged or the cooler pan still cracked is a stain on layaway. The source gets identified — and fixed by the right trade — before cosmetic work begins.
- Test before cutting older ceilings. If the damaged ceiling wears pre-1990s texture, cutting into it disturbs the material — so a lab test comes first, exactly as it would for full removal.
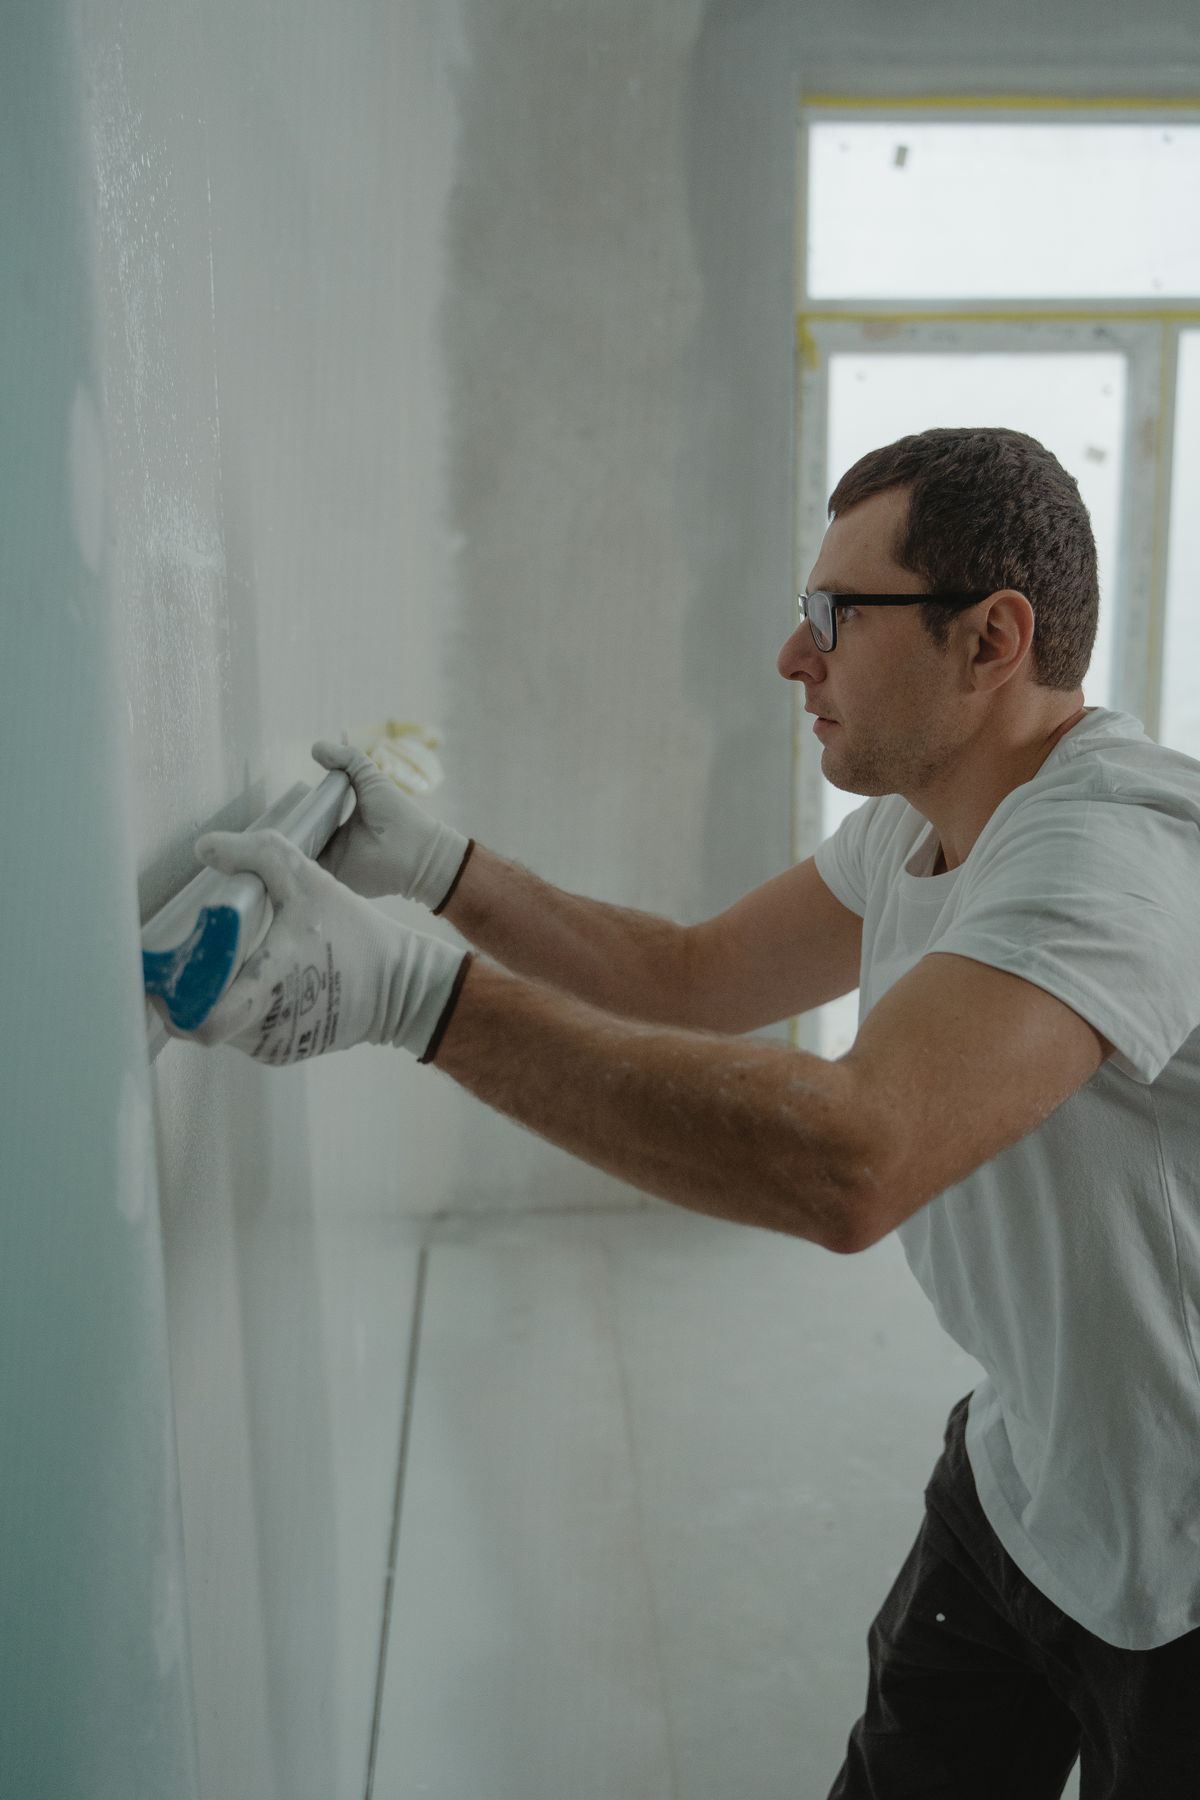
- Repair the drywall. Replace what's compromised, refasten what's loose, tape and float what's cracked.
- Seal and blend. Stain-blocking primer over every water mark, then texture matched to the surrounding ceiling — knockdown, orange peel, or smooth. Texture matching is its own craft.
- Paint to the breaks. Painting just the patch always shows. Painting to the room's natural break lines — usually the whole ceiling — makes the repair vanish. More on ceiling painting.
Repair or Replace the Whole Ceiling?
One clean stain in a bedroom is a repair. But when a ceiling has collected three summers of monsoon marks, a cooler ring, two mystery patches, and crumbling popcorn besides, patch-by-patch work costs more than it's worth — and still looks patched. That's the moment to price full popcorn removal and refinishing for the room or the house: one mobilization, every flaw gone, and a ceiling that finally matches the rest of your remodeling. The free quote lays out both numbers so the math makes the decision.
Repair FAQs
The stain is dry and old — can I just paint over it?
Not with regular paint. Water stains carry water-soluble residue that wicks straight through latex ceiling paint, sometimes within weeks. A dedicated stain-blocking primer has to seal the mark first; then the finish coat holds. That's the difference between a repair and a recurring ghost.
My ceiling is sagging near the swamp cooler — is that urgent?
Yes. Sagging means the gypsum core has taken on enough water to lose strength, and sections can eventually let go. Shut the cooler's water supply, keep people from under the bulge, and get the leak and the drywall assessed promptly.
Do small repairs still need asbestos testing?
If the work disturbs pre-1990s texture — even a one-foot patch — testing that texture first is the safe and sensible move. Small samples, small cost, and the repair plan proceeds on facts. How testing works.
How long does a typical ceiling repair take?
A single stain or patch is usually a one-to-two-day job: repair and first coats on day one, then sanding, texture, and paint once everything cures — which happens fast in Albuquerque's dry air. Larger replacements after a serious leak run longer because saturated framing must dry completely before new drywall goes up; rushing that step just grows mold behind a fresh ceiling.
Will insurance cover my ceiling repair?
Sudden events (a burst line, a storm-torn roof) are often covered; slow seepage and deferred maintenance usually aren't. That's a conversation with your insurer — but a written repair quote documenting the damage is exactly what an adjuster wants to see, and yours is free.
Make the Stain Disappear for Good
Source fixed, drywall repaired, texture blended, ceiling painted — quoted free, whether it's one patch or every room.